How to track the source of every form submission
Build a reliable form-source record with UTMs, click IDs, landing-page evidence, hidden fields, CRM mapping, and a repeatable QA plan.
The problem in plain English
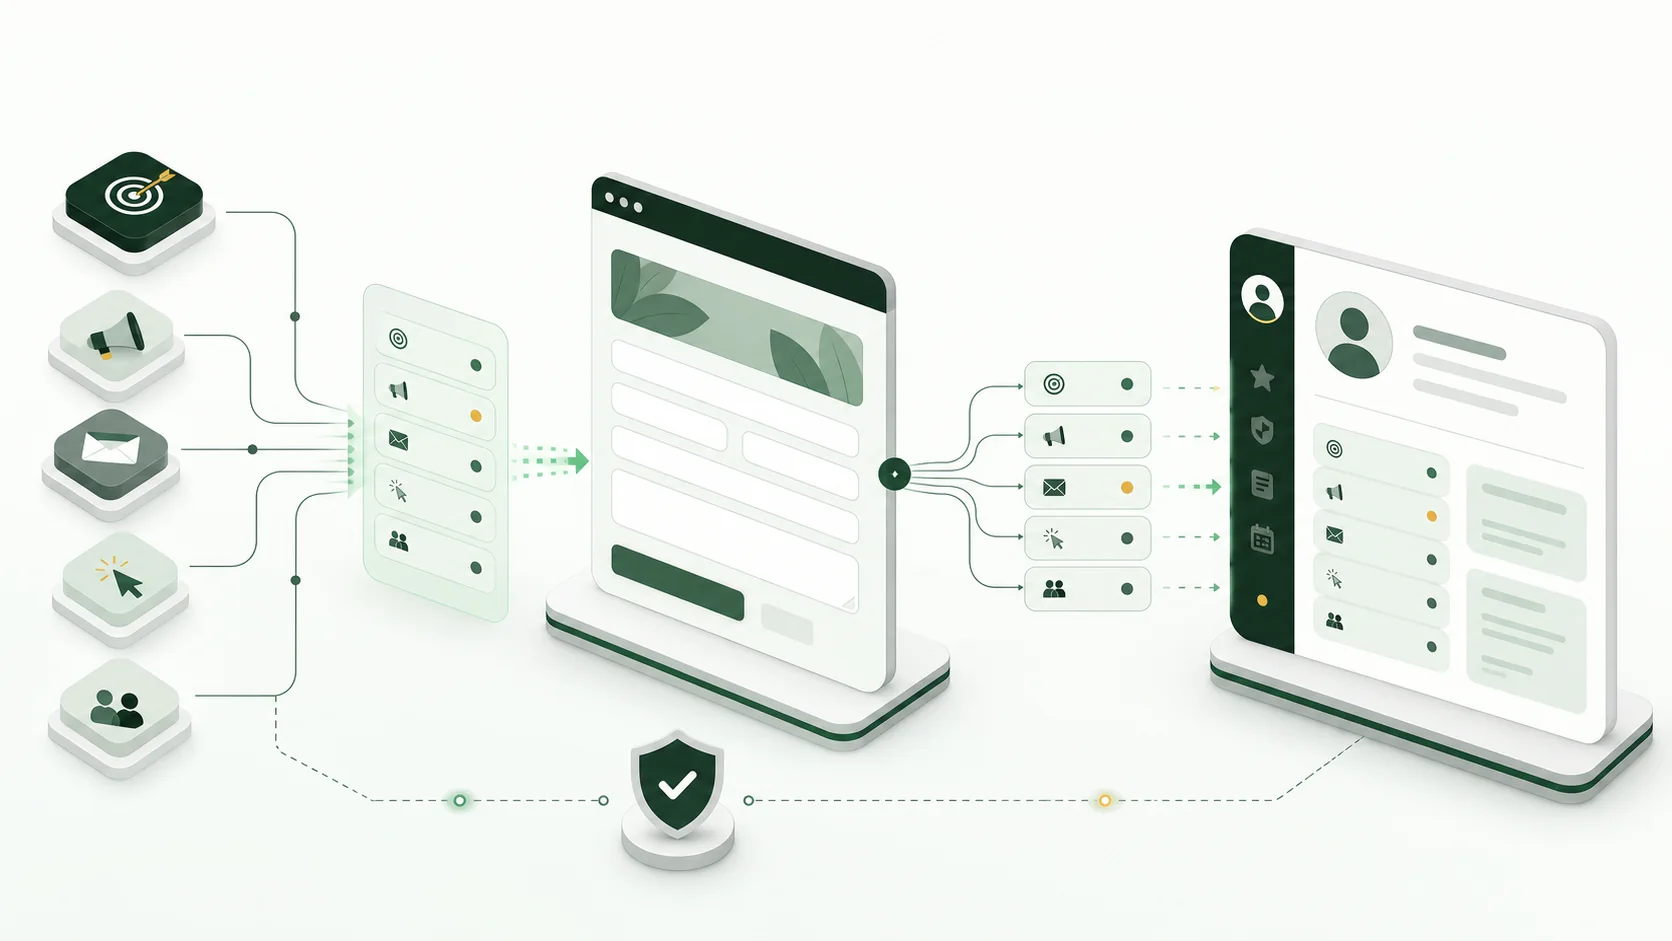
Your form tells you who submitted it, but not what brought that person to your website. The CRM gets a name and email address, while the campaign, ad, and landing page are missing.
This usually happens because the source details are visible in the landing-page URL but are never added to the form.
The solution in plain English
Save the source details when the visitor arrives. Add separate hidden fields to the form, put the saved values into those fields, and send them to matching fields in the CRM. Then submit a test lead and check the actual CRM record.
If the main problem is keeping UTMs while people browse different pages, use the guide to preserve UTMs across pages.
Define the questions before the fields
Most teams need answers to three different questions:
- What first brought this person to the website?
- What interaction produced this form submission?
- Which campaign should receive credit in a specific report?
Do not put all three answers into one lead_source field. Keep the first source and the source at form submission in separate fields. You can decide which campaign gets credit when you build the report.
The form-source fields to save
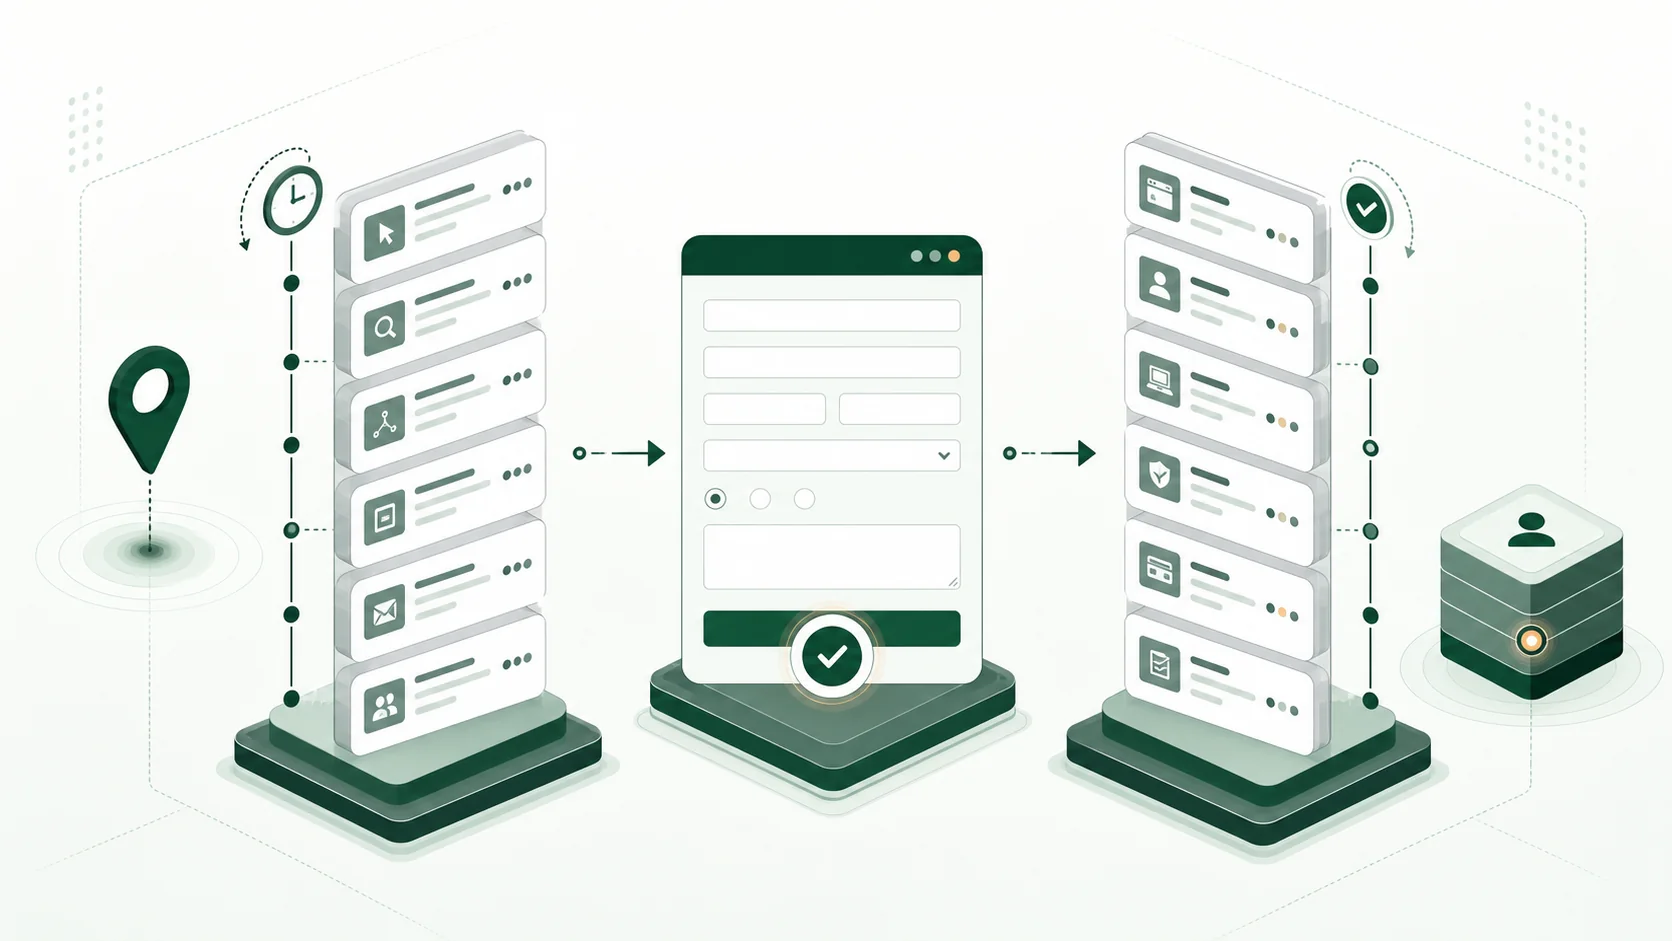
Your exact field names can differ, but keep the first visit separate from the visit that produced the form submission.
| Field group | Recommended values |
|---|---|
| First visit | source, medium, campaign, content, term, click IDs, landing page, referring website, saved time |
| Form-submission visit | source, medium, campaign, submission page, referring website, submission time |
| Test details | tracking version, consent state where appropriate, form ID, CRM record ID |
Keep the original values. For example, do not replace linkedin with “Paid social.” Save “Paid social” in a separate reporting field. This lets you change the grouping later without losing the original source.
Step 1: standardize campaign URLs
Use a controlled naming convention for utm_source, utm_medium, and utm_campaign. Google recommends adding the relevant campaign parameters to destination URLs so campaign information is available in Analytics. Its URL builder documentation lists the supported UTM parameters.
Write the convention down. Decide casing, separators, platform names, campaign IDs, and who approves new values. Source tracking fails as a reporting system when paid-social, paidsocial, and Paid Social become three categories.
Step 2: capture evidence on arrival
When the visitor first arrives, read only the campaign values you need from the URL. Do not save every URL parameter. URLs can contain personal or sensitive information that should not be copied into your CRM.
A sensible capture record includes:
{
  "utm_source": "linkedin",
  "utm_medium": "paid_social",
  "utm_campaign": "enterprise_demo_q3",
  "landing_page": "/solutions/attribution",
  "referrer": "https://www.linkedin.com/",
  "captured_at": "2026-08-03T09:30:00Z"
}
You can keep these values in a cookie, browser storage, or on your server. The right choice depends on your website and privacy rules. Ask the people responsible for privacy to decide what you may save, when consent is needed, and how long to keep it.
Step 3: choose an update policy
Decide whether a new campaign visit should replace prior values.
- First touch: write only when the field is empty.
- Latest touch: update when the person returns through a new tagged campaign link.
- Form-submission touch: save the source connected to the visit that produced the form submission.
There is no single correct rule for every company. Use separate fields and write down your rule so the team knows what each value means.
Step 4: populate the form
Hidden fields are form fields the visitor cannot see. Fill them with the saved source values before the form is sent. If the form is embedded from another provider, use that provider’s supported API or events. Browser security may stop your website from changing the embedded form directly.
Never assume a field is sent because it is visible in the DOM. Inspect the actual request payload in browser developer tools.
Step 5: map fields into the CRM
Create destination properties with compatible types and lengths. Then map form keys to those properties explicitly. Protect original values from broad “set lead source” workflows and confirm what happens when an existing contact submits again.
The CRM should receive the original values and any simpler reporting labels your team uses. If the values arrive correctly and change later, use the lead-source overwrite diagnosis.
Step 6: test journeys, not components
A field population unit test is not enough. Run these journeys with unique test values:
- tagged landing page → immediate form submission;
- tagged landing page → untagged internal page → submission;
- tagged landing page → leave → direct return → submission;
- tagged landing page → consent choice → submission;
- tagged page on domain A → form on domain B;
- repeat submission by an existing CRM contact.
For each test, compare the landing URL, the values saved in the browser, the form request, and the CRM record. Check the CRM again after its automated workflows run.
Common implementation failures
Reading UTMs only when the form submits
The current page may no longer contain them. Capture earlier and populate later.
Saving everything in one unclear “source” field
That prevents reliable filtering and makes rule changes hard to audit. Use distinct fields.
Storing every query parameter
This creates privacy and data-quality risk. Save only the URL fields you approved, and do not copy personal data from URLs.
Treating the referring website as the complete answer
Referrers are useful context but can be absent or altered by browsers, apps, redirects, and privacy settings.
Testing with an existing contact
The CRM may merge the test with an existing contact and apply different update rules. Start with a new email address, then test an existing contact separately.
Build or buy?
A custom implementation can work when you control the site, form, and CRM, and can maintain tests across changes. A product becomes useful when many forms, domains, client sites, or CRM mappings make that maintenance repetitive.
TraceSig remembers approved source details and adds them to supported form submissions. Your CRM remains the main place where leads are stored. TraceSig does not name your campaigns or decide your consent rules. Review integrations to confirm fit.
If you manage this setup across several client accounts, see the repeatable workflow for B2B performance marketing agencies. Use the Lead Source Breakpoint Checklist to test the full path before rollout.
Frequently asked questions
What is the best way to track form submission source?
Keep the first source and the source at form submission in separate fields. Send both with the form and check them in the CRM. Avoid one unclear source field.
Are UTM parameters enough?
They cover manually tagged campaign context, but you may also need supported click IDs, landing page, referrer, timestamps, and form metadata.
Should I use cookies or local storage?
Choose based on your consent model, retention requirement, domain architecture, and security constraints. Neither is automatically compliant or universally superior.
Can server-side tracking replace hidden fields?
It can change how the data is sent, but the server still needs to know which saved source belongs to which visitor. That connection remains the main challenge.
How do I track forms embedded in an iframe?
Use the form provider’s supported API, callbacks, or integration mechanism. Cross-origin browser protections may prevent direct access from the parent page.